


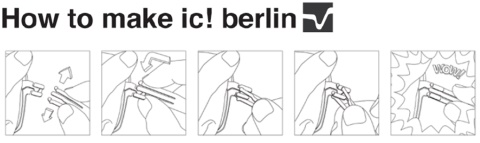
Step.1 所有ic! berlin手作眼鏡DIY材料預備就位!
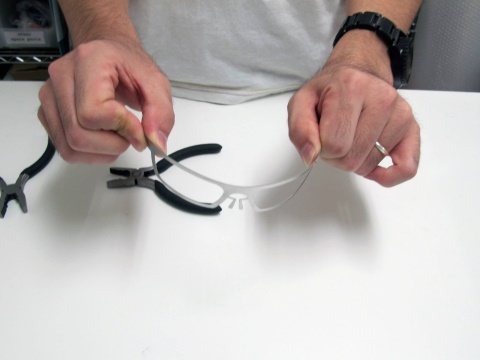
Step.2 先將框面彎折出適合臉部的弧度

Step.3 旁邊鏡腳零件也需要折至90度,請小心控制力氣~
Step.4 然後是中間鼻墊零件,讓我們繼續彎曲至合適的高度
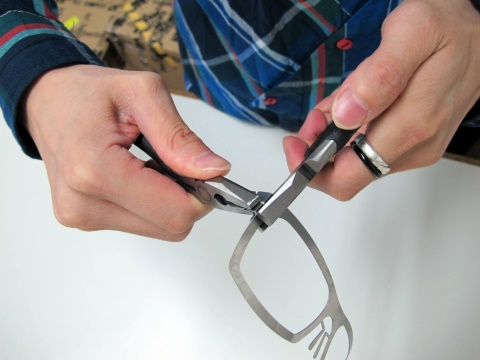
Step.5 使用磨砂紙,細心地把邊緣打磨至平滑狀態
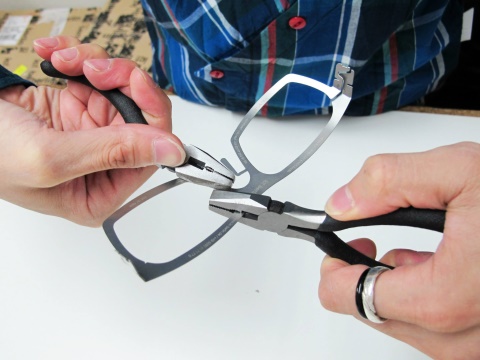
Step.6 小心裝上鏡片
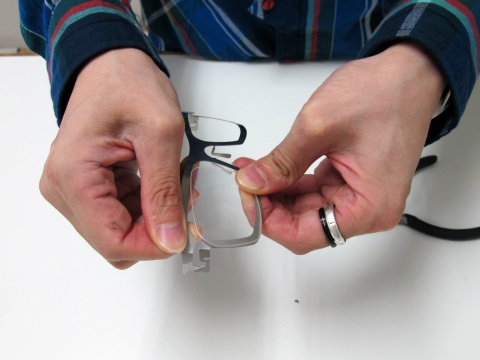
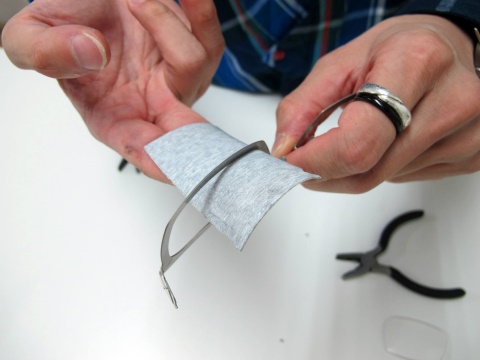
Step.7 固定好鏡腳墊片
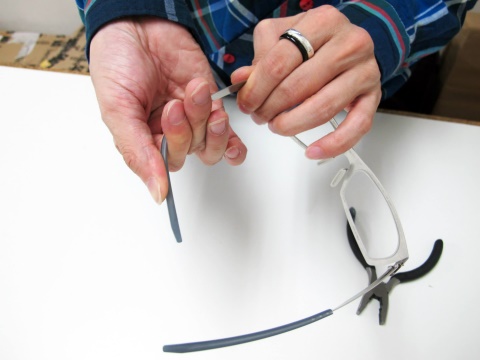
Step.8 為鼻墊裝上保護套
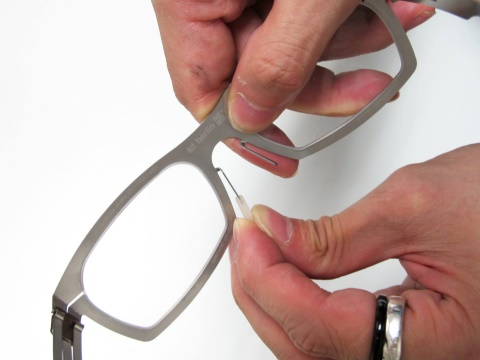
Step.9 鏡腳保護套也別忘了喔
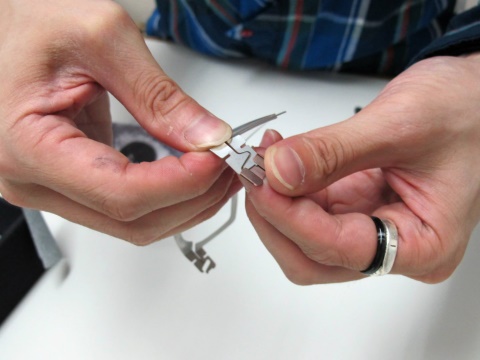
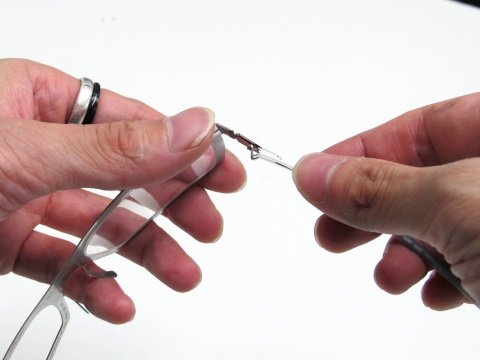
Step.10 運用重要的三叉腳組裝原理,將鏡腳與框面組裝結合
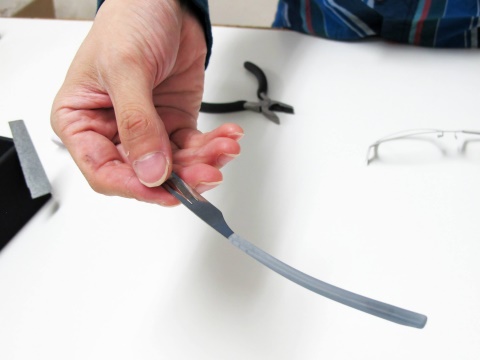
Step.11 調整鏡腳弧度至舒適的角度~
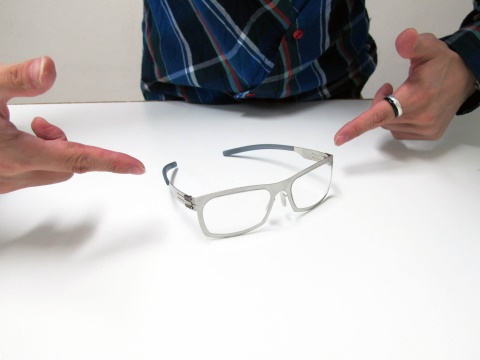
鏘鏘~ic! berlin手作眼鏡,完成!
最近又常常聽到很多人有高低耳的困擾?! 相信這是常有的經驗,
就是眼鏡多次調整後耳朵還是因鏡腳壓迫而覺得不舒服~ ic! berlin 的可調節式鉸鏈 ,
在鉸鏈上創造出兩道巧妙的小空間,只要輕扭轉,就能改變鏡腳的傾斜角度,
使鏡腳與耳朵弧度完美契合,享受舒適感!
0 意見:
張貼留言